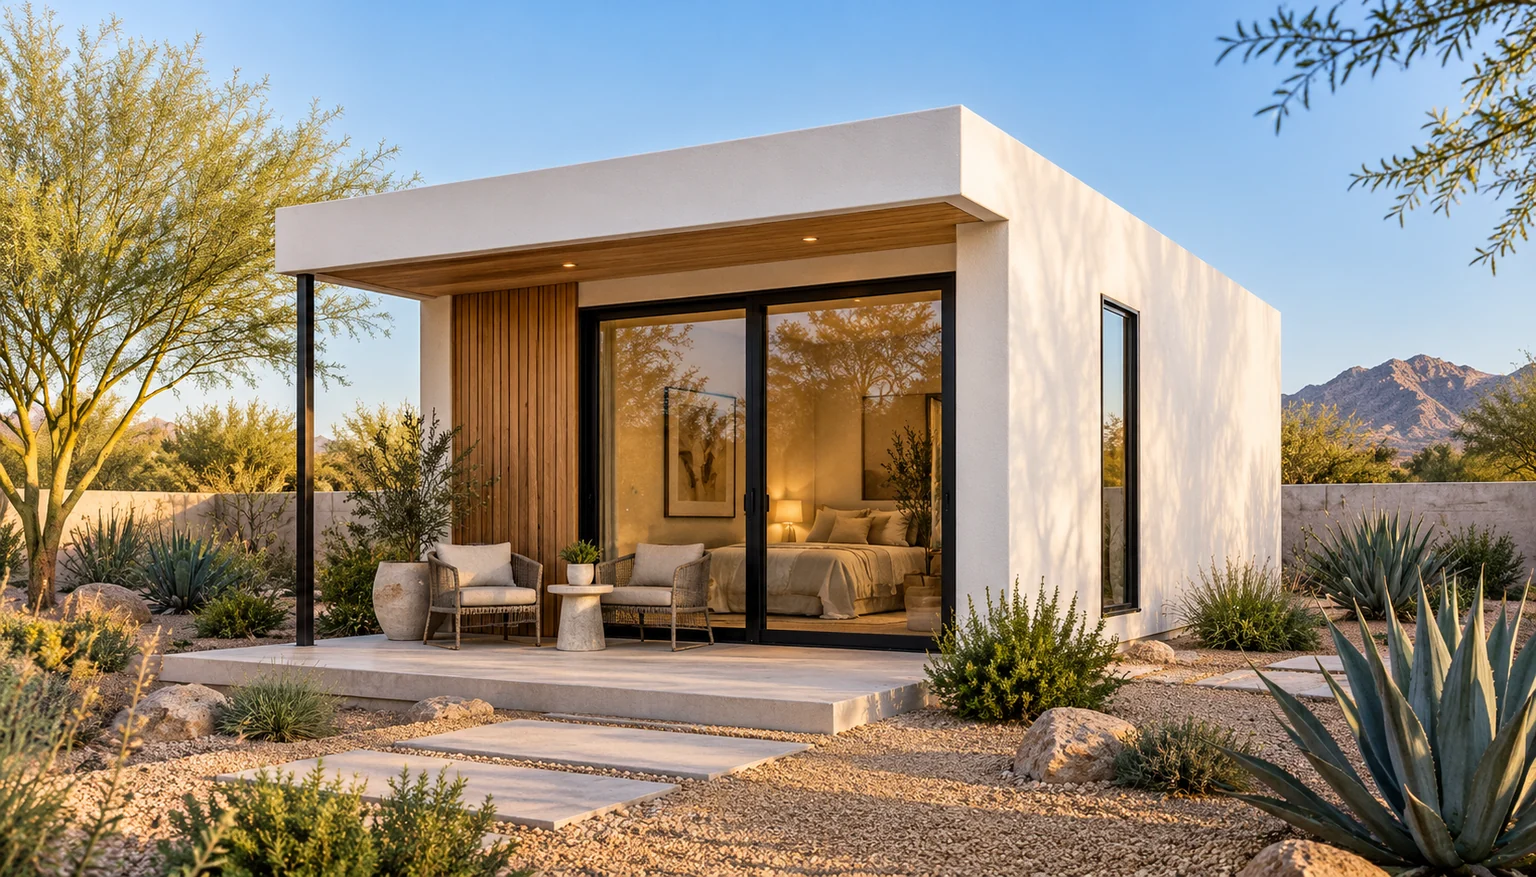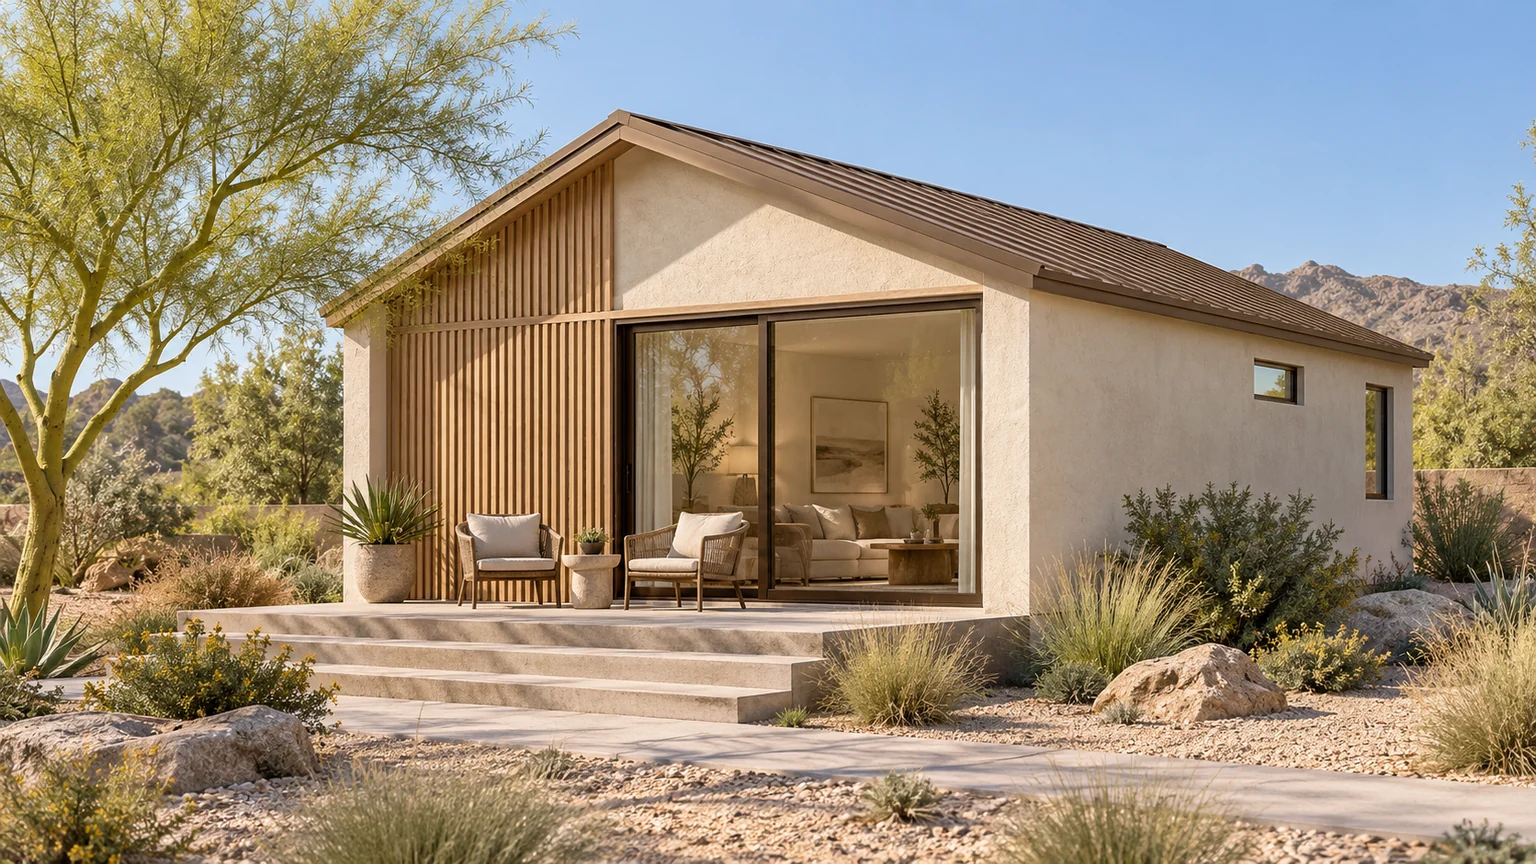

A concept plan is a useful way to begin. It shows how rooms might relate, gives you something concrete to compare, and helps reveal what matters to the household. You may recognize the bedroom arrangement you want or discover that a courtyard is more useful than another enclosed room.
The next step is to place that idea on your property. That is where dimensions, orientation, existing improvements, service routes, and the applicable review begin to shape the design. Changes at this stage are part of making the plan specific.
The front door needs a real arrival
A catalog drawing usually shows an entry in isolation. Your property has a street, a drive, a gate, and an existing house. The route between them may lead to a different side of the proposed building from the one the concept assumes.
Test the arrival before accepting the layout. Show how someone carries groceries in, where a visitor pauses, and how the entrance relates to the main home’s outdoor space. Moving the door may affect furniture, kitchen arrangement, or the connection to a terrace, so those changes should be reviewed together.
Windows acquire neighbors and directions
An attractive window in a rendering may face a wall, another bedroom, or a place that needs more privacy on the actual site. Mark the important views and the neighboring openings. Consider how both households will experience the new building during the day and in the evening.
The design team can then review window placement, size, and shading alongside the interior arrangement. Keep furniture visible on the plan. A change that improves an exterior elevation should still leave a useful wall for a bed, sofa, or desk.
The site has conditions beyond the footprint
Existing structures, recorded easements, ground conditions, drainage, and service routes can influence where and how the concept is developed. Identify the information needed to review those questions. Avoid treating the edge of a drawn rectangle as a confirmed buildable boundary.
Sometimes the household has more than one workable location. Compare them using the complete site relationship, including construction access and restoration. A more appealing outlook and a simpler arrival may point in different directions; making that tradeoff visible helps you choose deliberately.
A standard-plan program has a defined scope
Municipal standard-plan programs can provide a specific review route, but their rules and available designs need to be checked with the relevant city or town. A design displayed on a builder’s website is not automatically part of one of those programs.
Goodyear’s SMART program illustrates the distinction: preapproval of a design does not replace the property-specific construction-permit process. Ask what remains to be submitted and what happens if you want to modify the selected plan.
The furnished plan needs to match the brief
Compare the concept with the intended occupant’s actual routine. Confirm the bed size, storage, laundry, meal preparation, and any work or hobby space. A plan chosen for occasional guests may need changes for a person living there throughout the year.
Review drawings and images together as those changes are made. The rendering should describe the current plan, including the doors, windows, and major room relationships. If an image is illustrative, keep that status clear so it does not become an unintended promise about the finished scope.
Decide in a useful sequence
Begin with the property and intended use. Confirm the overall location and arrival, then refine the room arrangement. Coordinate services and technical requirements before treating finishes as final. Record each decision so later changes can be understood in context.
Bring a preferred concept to the consultation and identify the two or three things you most want to preserve. That gives the team freedom to adapt the rest of the design while protecting what drew you to it. The result should be a plan that carries your priorities into the actual property conditions.